Managing Classes
Classes are how you organize students into groups. Each class has a grade level, section, assigned teachers, a timetable, and a student roster.
Who can access this? Organization Admin, Branch Admin, Teacher
Class List
Go to Classes from the sidebar to see all classes.
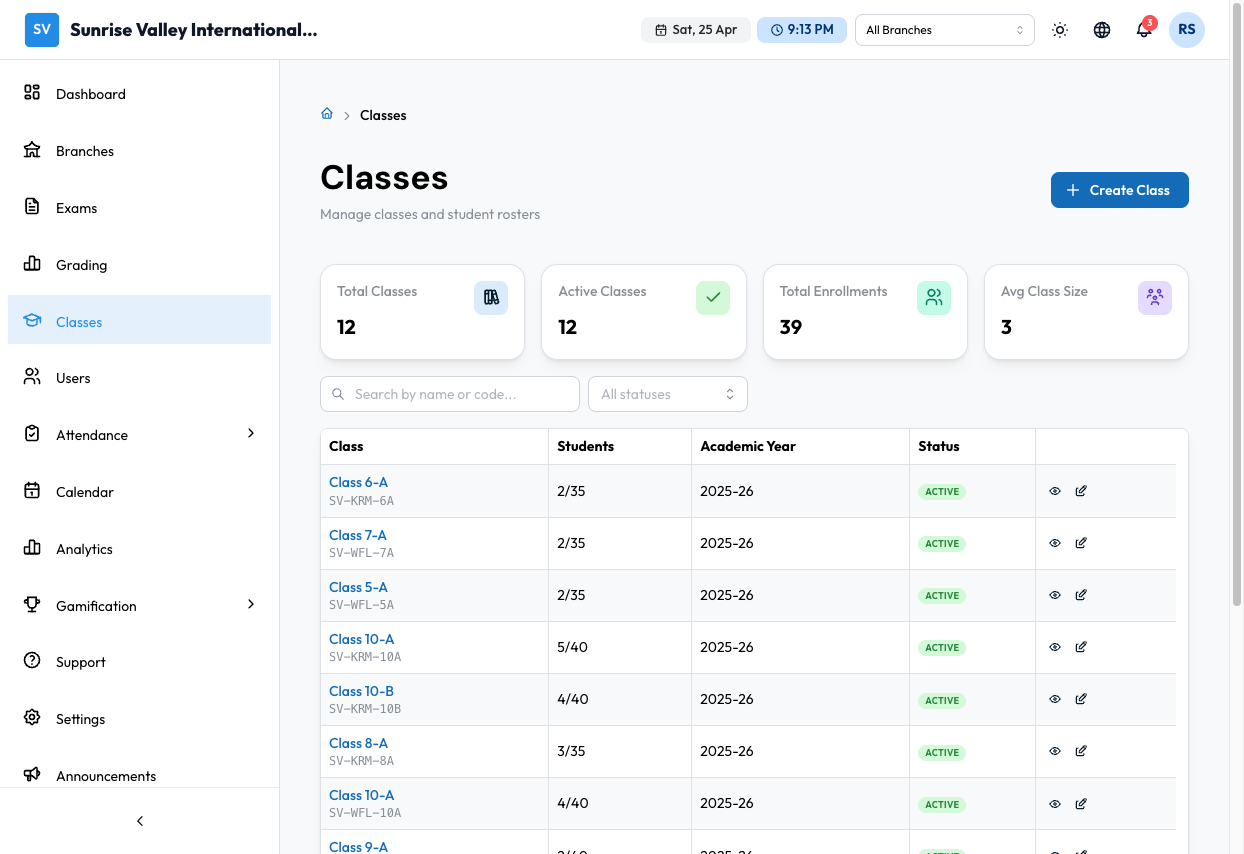
The page shows:
- Stats cards - Total classes, active count, total students, average class size
- Search - Search by class name or code
- Filter - Filter by status
- Class table - Name, code, student count, term, status, actions
Creating a Class
Click Create Class to open the 5-step class creation wizard.
Step 1: Basic Information
| Field | Required | Description |
|---|---|---|
| Branch | Yes | Which branch this class belongs to |
| Grade Level | Yes | Grade (e.g., Grade 10) - must be set up in Settings > Academic Structure |
| Section | Yes | Section identifier (e.g., A, B, C) |
| Class Name | Yes | Auto-generated or custom name (e.g., "Class 10-A") |
| Academic Year | Yes | The academic year for this class |
| Maximum Capacity | No | Maximum number of students |
Step 2: Subjects & Teachers
Assign subjects and teachers to the class:
- Select a Class Teacher (homeroom teacher)
- For each subject, assign a Primary Teacher and optionally an Assistant Teacher
- Subjects must be created first in Settings > Subjects
Step 3: Timetable
Set up the weekly schedule:
- Select Working Days (e.g., Monday through Friday)
- Define Periods - number of periods per day, start time, end time, and break periods
- Use a Period Template or create a custom schedule
- Assign subjects and teachers to each period slot
Step 4: Students
Add students to the class:
- Search and add individual students from the user list
- Import roster from a CSV file
- Students must have accounts created first (see Managing Users)
Step 5: Review
Review all class details and click Create Class to finalize.
Class Details Page
Click View on a class to see its details with tabbed navigation:
| Tab | What It Shows |
|---|---|
| Overview | Grade, section, academic year, class type, branch, working days, subjects |
| Teachers | Teacher-subject assignments with primary/assistant roles |
| Students | Student roster with enrollment dates, add/remove actions |
| Timetable | Period-by-period schedule grid with subject, teacher, and room assignments |
| Exams | Exams assigned to this class with status, dates, and marks |
| Analytics | Class performance metrics |
Editing a Class
Click Edit on a class to modify:
- Basic Info - Name, section, capacity
- Subjects & Teachers - Update teacher assignments
- Danger Zone - Deactivate or delete the class
Bulk Class Creation
Go to Classes > Bulk Create to create multiple classes at once using a table entry form. This is useful at the start of an academic year when you need to set up many classes simultaneously.
Tips
- Set up Subjects and Academic Structure in Settings before creating classes
- Use Period Templates to quickly apply consistent schedules across classes
- The Timetable tab on the class details page allows quick edits - click any slot to change the assignment
- Students can be enrolled in only one class per branch